We had a great photography workshop at White Pines Nature Preserve a few weeks ago, and I thought I would share some of the results. I took the group to four locations in the preserve, each chosen because it presented different challenges. Most beginner photographers hike with their camera and wait until they see something that inspires them before making an image. I wanted the group to learn how patience and careful observation can help them find inspiration where they would have never found it before. This is an important skill, and once you learn it you will find that you no longer need to wait for inspiration, but instead can cultivate the creative process wherever and whenever you need it.
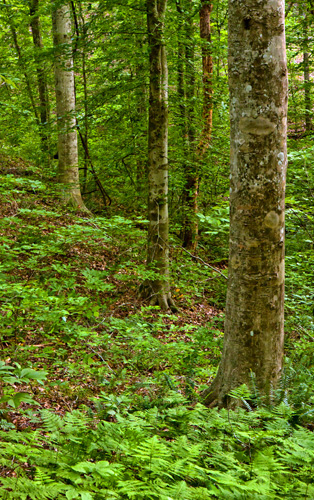
I wanted to take a pic that truly expresses the feelings I have in the middle of a forest. The challenge, for me, was seeing through the complexity and busyness of a forest, to identify a non-cluttered view that expressed my emotions and feelings of peace, quiet, beauty, & magic.
– Kim Hawks
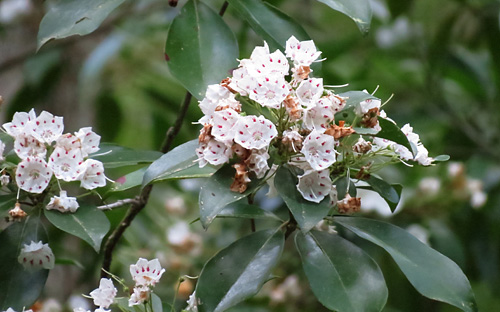
This photo was taken in the soft light of dusk with a long lens using a low light setting on my camera which actually takes four photos and stacks them together to reduce the noise caused by high ISO.
– Dan Harvey
We spent some time working with the largest white pine in the preserve. Everyone had their own take on how to photograph this tree. Kim and I shot with a wide angle lens; Sue used a more telephoto perspective.
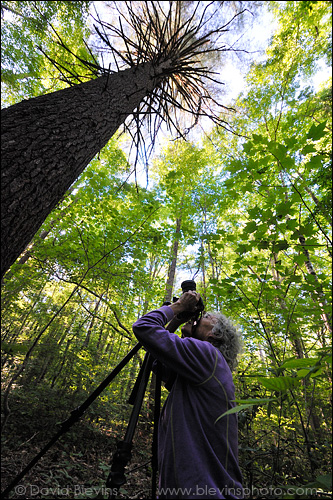
I made this photo of Kim while she was making her photo below. I shot it with a 14mm lens that has an almost 90 degree field of view. I wanted to capture both the photographer and what the photographer was working on in one image.
– David Blevins
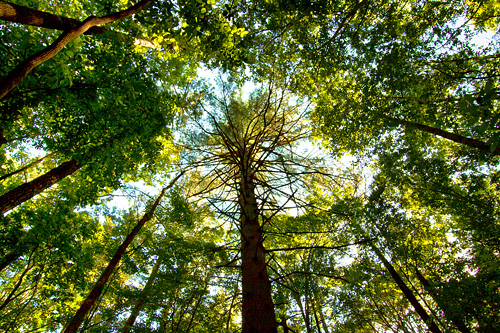
I learned during the workshop why a certain lens is better for a particular shot, based on what the photographer is trying to achieve. The Mother White Pine was shot with my wide angle lens which I learned makes distant subjects seem smaller and farther away.
– Kim Hawks
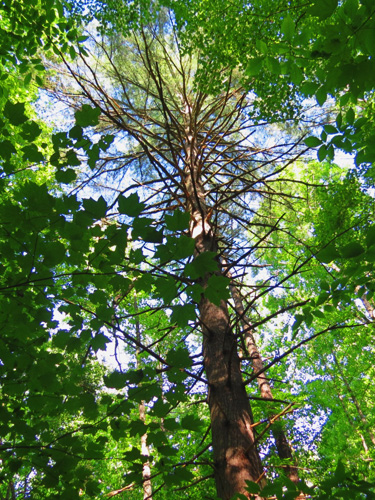
I liked the way the White Pine was framed nicely by the surrounding foliage.
– Sue Harvey
The most challenging subject I gave the group was a close-up of white pine foliage. This is the sort of subject most people would walk right past and take no notice of. We spent an hour looking in detail at white pine foliage, manipulating the light with reflectors and diffusers, and trying to find interesting compositions. Each person came up with completely different ideas. Sue moved in close to the new growth on the tip of a branch, Kim saw the patterns of one branch mirrored in another, and Maggie found a strong composition with radiating lines that draw your eye into the center of the frame.
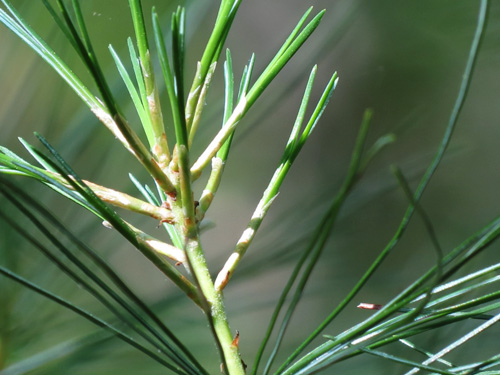
This close-up of white pine needles required a tripod since the shutter speed was only 1/20th of a second.
– Sue Harvey
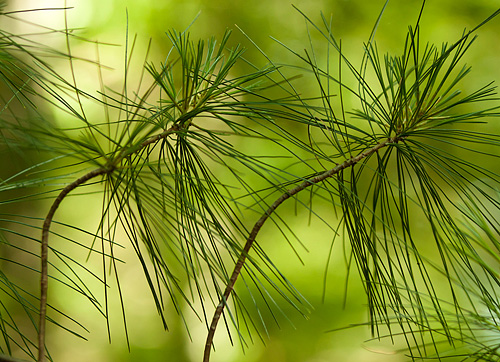
There are lots of things we see every day that we take for granted and do not see anything special about it. David asked us to focus on photographing white pine needles. It was an interesting process, I explored many thoughts that surfaced based on what I was seeing. This one reminds me of a couple dancing. It feels happy to me.
– Kim Hawks
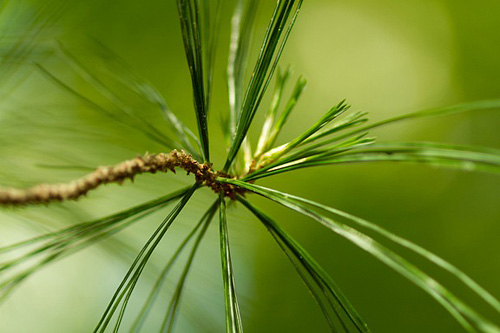
I tried to capture the delicacy and elegance of the white pine foliage.
– Maggie Zwilling
About half way through the workshop I found a white pine branch that had been blown down from the top of the forest canopy by a storm the night before. Unlike the white pine foliage we had been working on earlier, this branch had pollen cones that were bursting with bright yellow pollen. It is a rare opportunity to see and photograph a subject normally only found high out of sight in the forest canopy. We attached the branch to a tripod so I could use it to demonstrate a method of using flash to darken the background. Yes, that’s what I said, I use flash to darken. :-)
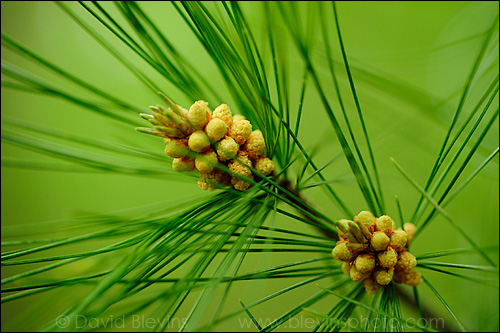
This image shows the white pine pollen cones with no flash, just using the available light. The problem with this image for me is the background is so much brighter than the foreground.
– David Blevins
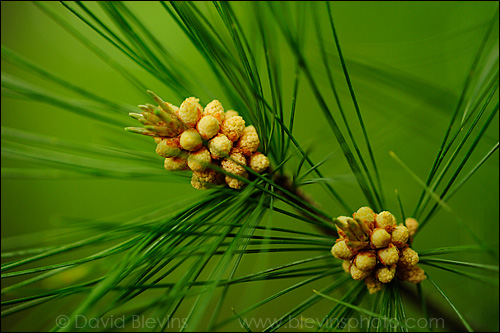
To darken the background I used an off camera flash sent through a diffusion screen and balanced with the ambient light. The flash was positioned to provide light from the same direction as the sun, and the diffusion screen made the light soft. The key was to balance the flash output so it was a little brighter than the ambient light on the background. This allowed me to use a slightly faster shutter speed to render the background darker, while the flash provided plenty of light on the subject. It might sound complicated but the most difficult part was holding three things (the diffusion screen, flash, and shutter release cord) with only two hands.
– David Blevins
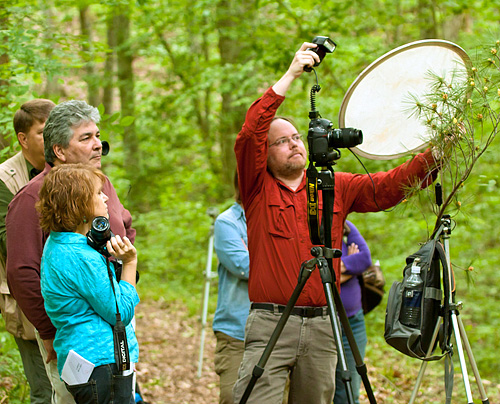
This photo was made by Kim as I demonstrated my technique for firing an off camera flash through a diffusion screen to create soft natural looking light. I am holding the diffusion screen and shutter release cord in my left hand, the flash in my right hand, and the camera is on a tripod. One often overlooked benefit of a tripod is it really helps when you run out of hands.
– David Blevins

David,
This workshop was great. I learned some new things and enjoyed being out with other, like-minded persons in a lovely setting. I look forward to joining in again in the future.
William
I am working on getting a group together to visit White Pines in a week or so. I am looking for Native Plant Geeks who are interested in visiting natural areas and photographing plants.